
One of my favorite books growing up was Ella Enchanted. I read this book so much that the spine bent. I will still take an afternoon to breeze through it, smiling the whole time.
The copy of the book I have is the movie cover. It’s not my favorite. Love Anne Hathaway, didn’t care for the adaptation. For years I’ve wanted to upgrade to a new cover. One I wouldn’t mind having on my shelf.
So I had the idea… what if I made a new cover? And here’s the process of that! (Video process is at the bottom of the page!)
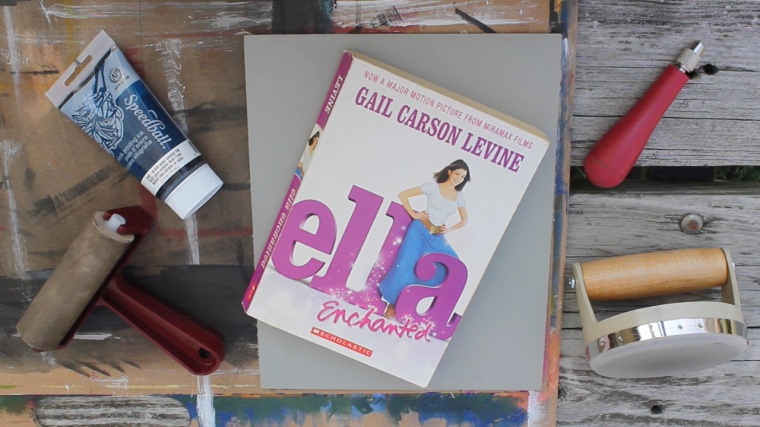
Major supplies: linoleum block, brayer, baren, carving tools, water-soluble ink, printmaking paper, glue stick
Steps:
 Trace Book on Block First things first, I had to cut the linoleum block to the size of the cover. Easy enough: place book on block, trace, cut!
 Transfer Sketch I did my practice sketches, then chose the one I liked the best. I decided on this one because one of my favorite aspects of Ella is her love of languages.
Title Stencil Since a block print is opposite what you put down, there was no way I was going to try to freehand the title. I messed around with a few different ways to format the lettering. The one I chose, I cut out, placed backwards on block, and traced.


 Carving! I paid special attention to the direction of my carving tool. The swirls were circular and had a lot of movement. For the background, I kept them all up and down. This is because I know the background will still get ink no matter what, so that would look good in the final product.
- I realized in the end, I didn’t give myself a lot of room for error when I carved too much before I inked. Normally I’m good about that, but I guess I was too excited for this project to adhere to that rule (measure twice, cut once!)!
Inking Always a fun time. I have a sheet of plastic I place the ink on that I move around with the brayer. The first inked block never holds enough ink, so a few goes at it need to happen before all’s done.
 A few notes on my mishaps inking this time around. I didn’t clean the block before inking, and that caused a lot of little white speckles until I figured out what the problem was.
- Also, I was doing this outside, and the ink got really runny, which caused the ink to slosh around on the final product. So it’s not as sharp as it could be.
 Baren The circular tool I use is a baren, but you can use a wooden spoon for this part, too. I always start circular movements in the middle of a piece before moving outwards.
Ink and Repeat until I got the best one! This took a lot longer than normal due to the problems I listen above.
 Book Cover Template I traced around the entire book as though it lay flat on the paper. Then I cut around that, with 2 inches around each edge. Where the corners were, I cut those out to the tips so the flaps could be folded over later. Hopefully the picture helps illustrate that! If you can’t see it, the video is a good demonstration of it, or I’ll make a template available rather than just a picture.
 Cover Book I used plain old glue stick for this part. Folding the top and bottom flaps first, I made sure they were secure and no extra paper was in the fold. I folded over the book’s edge flap after that. This was a lot of moving the book around and making sure the folds were creased nicely.
 Place Print Self-explanatory. I almost put it on the wrong side, though! So really have to watch out for that!
Details As I looked at the cover, I wondered what it was missing. The entire back of the book was blank, so I googled some quotes and found a very fitting one! After that, I added the title and author to the spine, and the author’s name to the front cover.


And that’s my ReCover of my Ella Enchanted book!! Thank you for reading so far. If you have any questions about my process, or even just your favorite book, please comment below!

Make sure you watch the video of the process, too! It was good fun trying to edit all that footage.
